


Industrial Sewing Machine Brand Supply Chain Evaluation – OEM Parts Supply Cycles & After-Sales Service Networks
Industrial Sewing Machine Brand Supply Chain Evaluation
1. Why Does Supply Chain Evaluation Matter More Than the Machine Brand Itself?
A sewing machine is only as reliable as the supply chain behind it. When a critical part fails, the difference between 24‑hour delivery and a 45‑day wait determines whether your production line stays running or grinds to a halt. This section explains why evaluating a brand’s supply chain infrastructure is essential for factory owners who cannot afford unplanned downtime.
-
The hidden cost of parts unavailability: A $10 bobbin case that takes 3 weeks to arrive can cost thousands in lost production
-
Brand reputation vs. supply chain reality: Premium brands don‘t always guarantee premium parts availability in every region
-
The 24‑hour test: Can the supplier deliver a critical spare part within 24 hours?
-
Real‑world impact: Factories with documented supply chain strategies report 40% less unplanned downtime
2. What Are the Key Metrics for Evaluating a Sewing Machine Brand‘s Supply Chain?
Professional buyers use specific, measurable indicators to assess a supplier‘s supply chain maturity. This section provides a framework for evaluating any sewing machine brand against industry benchmarks.
-
On‑time delivery rate: Benchmark ≥95% signals reliable supply chain coordination; top suppliers achieve ≥99%
-
Response time: Average response time ≤6 hours indicates dedicated support staff; leading suppliers reply within 2 hours
-
Reorder rate: A rate above 20% suggests customer satisfaction and repeat business
-
Manufacturing lead time: Standard machines ship in 15–30 days; customized or computerized models take 25–35 days to 45–60 days
-
In‑stock availability: Suppliers with ready inventory can dispatch refurbished units within 3–7 days
3. How Do You Map a Brand‘s After‑Sales Service Network?
A brand‘s service network is only as good as its coverage in your region. This section provides a practical approach to mapping and evaluating service networks before committing to a purchase.
-
Service center density: How many authorized service centers exist within 200 km of your factory?
-
Dealer vs. direct support: Some brands offer factory‑direct support; others rely on independent dealers with varying quality
-
Multi‑brand parts availability: Suppliers that stock parts for multiple brands (JUKI, BROTHER, JACK, etc.) often provide faster turnaround
-
Language and documentation: English‑language manuals, circuit diagrams, and calibration records should be readily available
-
Remote diagnostics capability: Video call or AR‑assisted guidance can resolve issues without dispatching a technician
4. What Is the Average Parts Delivery Time for Major Industrial Sewing Machine Brands?
Parts delivery time varies significantly by brand, region, and part type. This section provides benchmark data to help factories set realistic expectations and negotiate better terms.
-
Standard parts (needles, bobbins, belts): Typically available within 24–72 hours from well‑stocked suppliers
-
Critical mechanical parts (hooks, feed dogs, presser feet): 3–7 days if in stock; 15–30 days if ordered from overseas
-
Electronic components (control boards, sensors): 25–45 days for computerized models
-
Custom or OEM parts: 30–50 days for bulk production
-
Air freight vs. sea freight: Air freight delivers samples within 7–10 days; sea freight takes 25–40 days
5. How Do You Read a Brand‘s Parts Inventory Level from Their Online Presence?
Before you buy, you can assess a supplier‘s parts availability through publicly available information. This section teaches buyers how to read the signals.
-
Dedicated parts websites: Brands with comprehensive online parts catalogs (like JUKI‘s WebPartsList) indicate organized inventory management
-
Parts list tools: Suppliers offering automated parts recommendation tools (e.g., JUKI EssentialPartsList) demonstrate sophisticated inventory planning
-
Starter kit inclusion: Most suppliers include starter kits with needles, bobbins, and belts — but ongoing supply chains matter just as much
-
Real‑time inventory visibility: Suppliers that showcase real‑time inventory on digital platforms are more likely to deliver on time
6. What Should a Service Level Agreement (SLA) Include for Sewing Machine Support?
A well‑structured SLA protects your factory from extended downtime. This section provides a template for negotiating service terms with any sewing machine brand.
-
Response time guarantees: Emergency breakdowns should receive response within 4 hours
-
Resolution time targets: 90% of equipment should be repaired on‑site within 2 days
-
Severity‑based escalation: Major issues (production‑stopping) require faster response than routine maintenance
-
Penalty clauses: Service credits or financial penalties for missed SLAs protect your interests
-
Scheduled maintenance: Monthly or quarterly preventive maintenance visits should be specified
7. Why Does Supplier Location Affect Parts Availability and Service Response?
Geography matters more than many buyers realize. This section explains how a brand‘s manufacturing and distribution location impacts your factory‘s uptime.
-
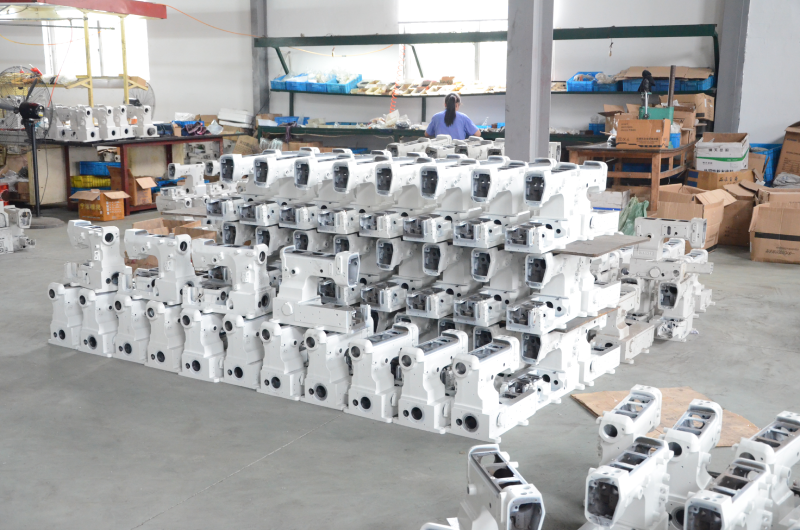
The Zhejiang/Taizhou advantage: China‘s sewing machinery hub offers vertically integrated suppliers with component lead times reduced by up to 40%
-
Proximity to ports: Suppliers near Ningbo and Shanghai ports achieve transit times of 18–25 days to Europe and North America
-
Local vs. overseas inventory: Suppliers with customs‑bonded warehouses can deliver to overseas customers within 24 hours
-
Ecosystem benefits: Interconnected component manufacturers within a compact radius reduce logistics overhead and assembly delays by up to 30%
8. How Do You Verify a Brand‘s After‑Sales Support Before Purchasing?
Don‘t wait until a machine breaks to test the support quality. This section provides a pre‑purchase verification checklist for any sewing machine brand.
-
Test the response time: Send a technical question and measure how long it takes to receive a meaningful reply
-
Request documentation: Ask for English manuals, circuit diagrams, and calibration records before buying
-
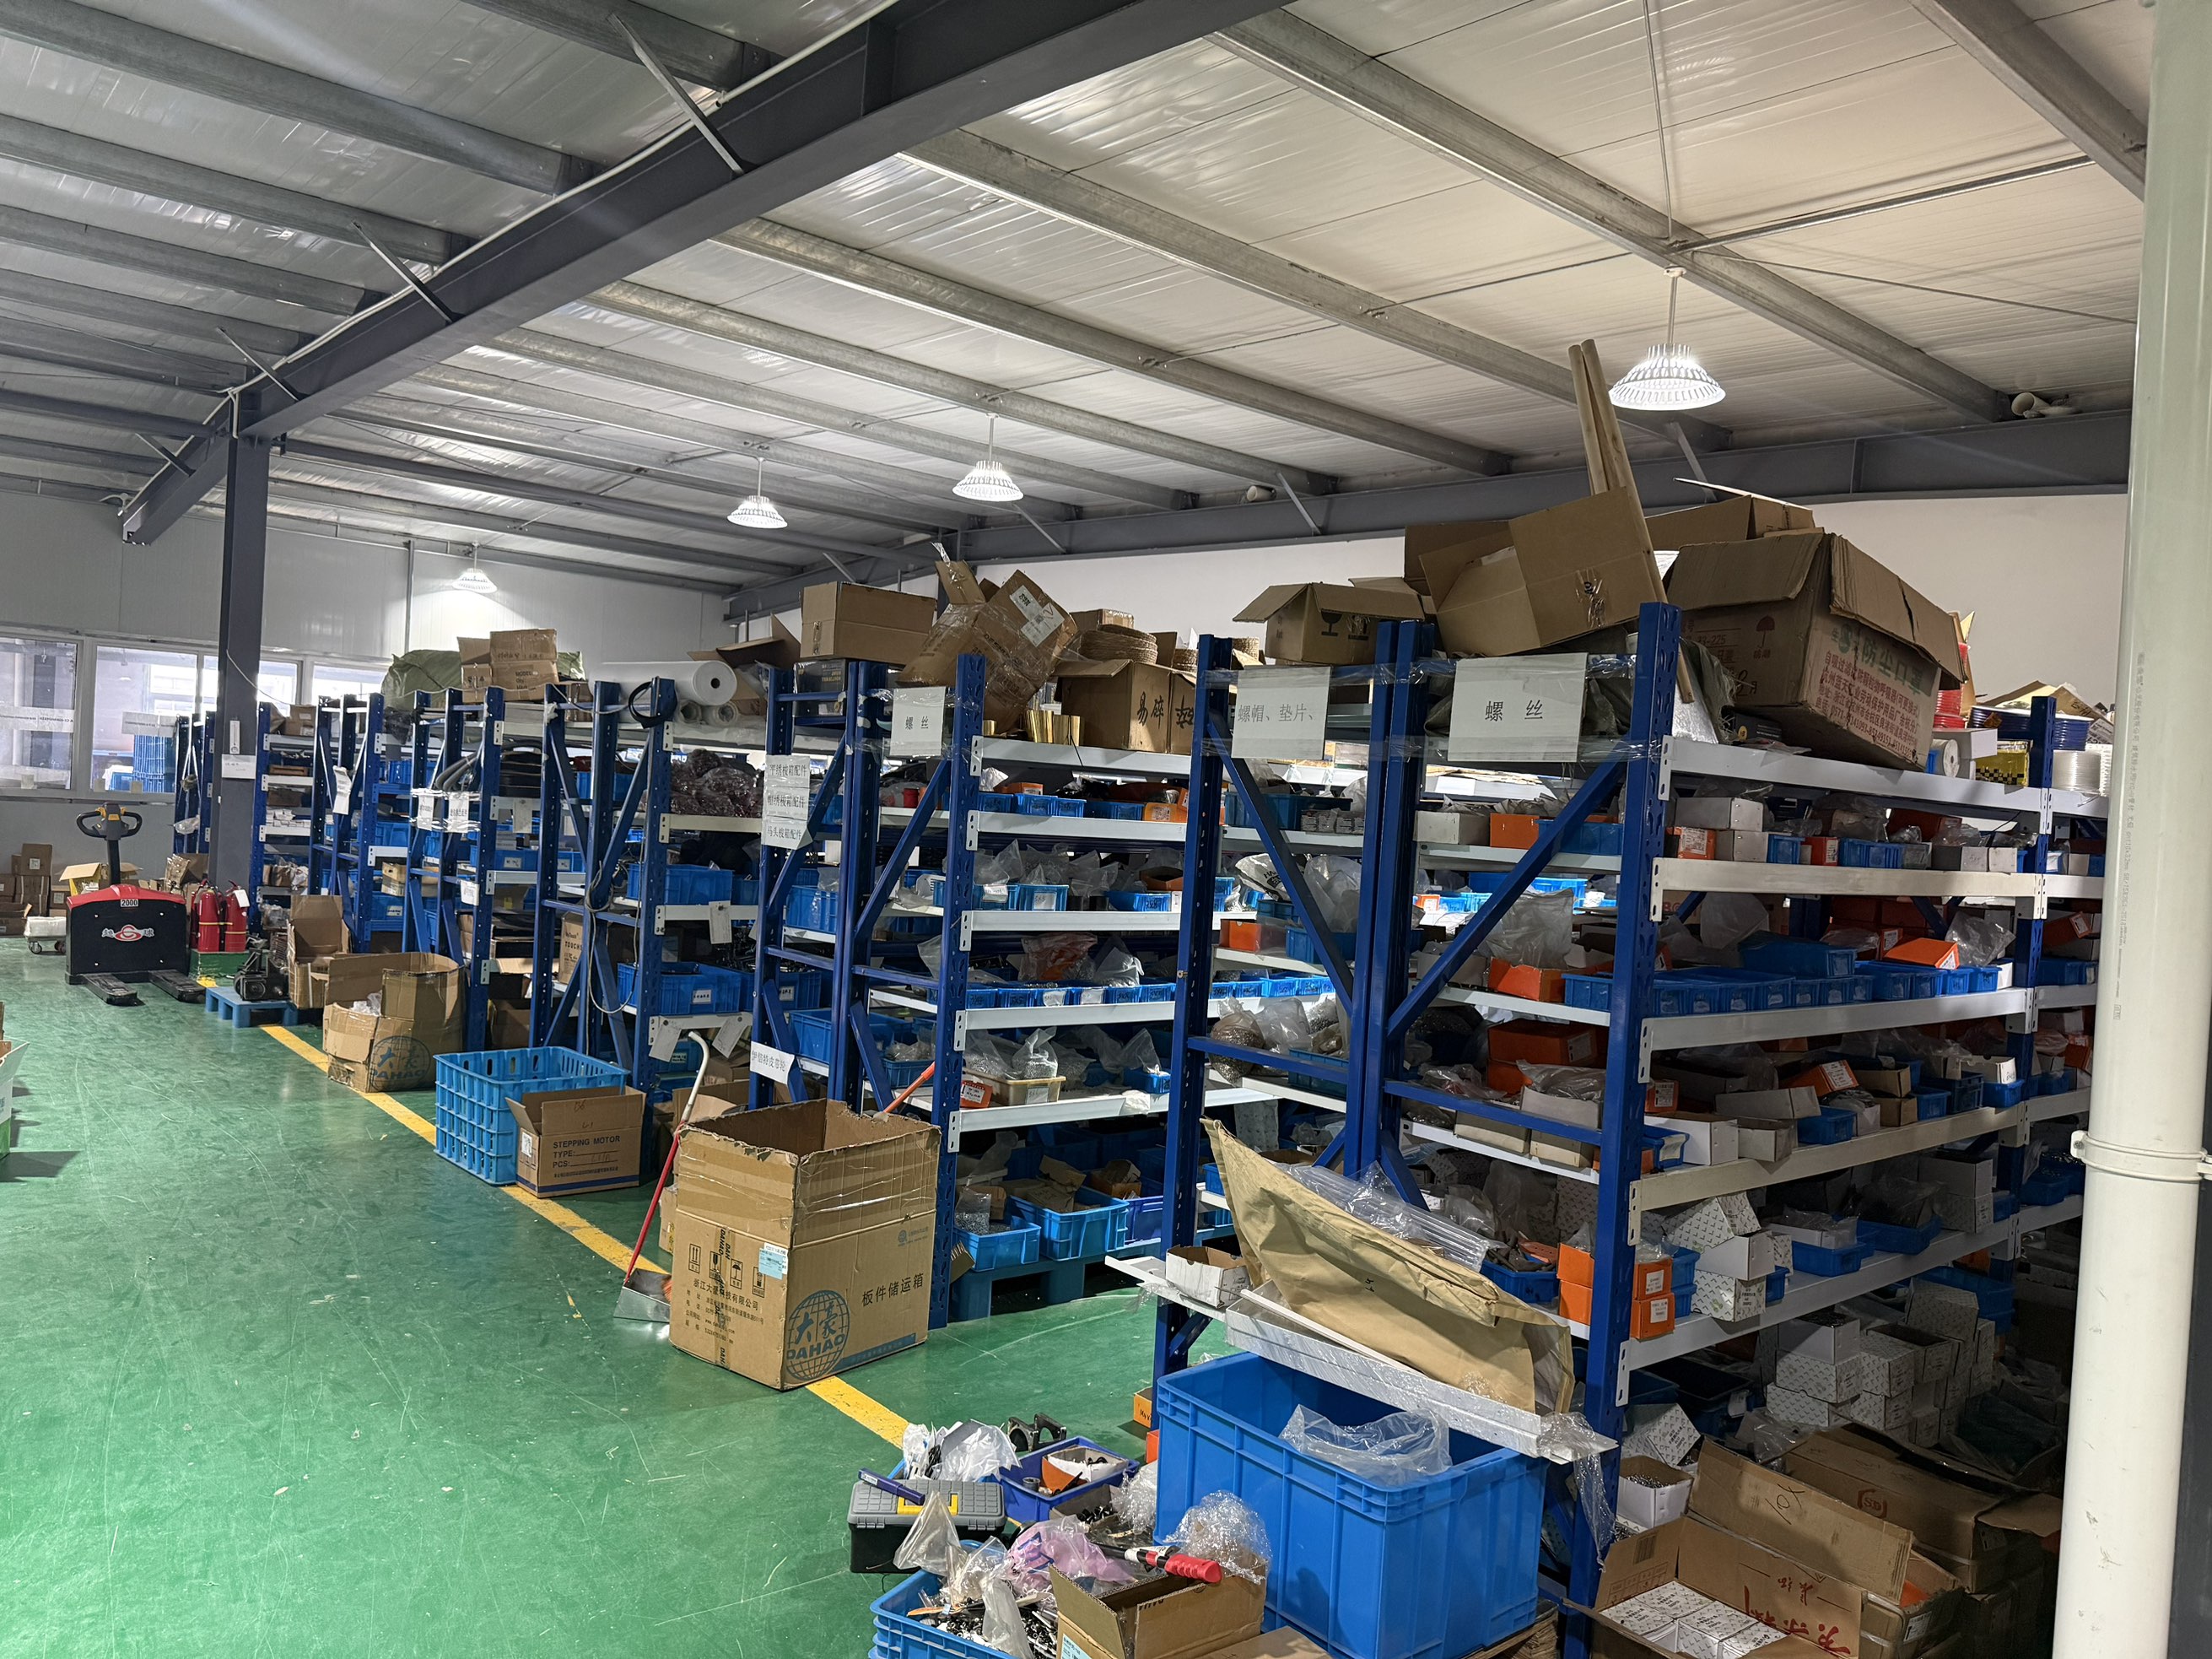
Check parts availability: Ask for a quote on 5 critical spare parts — can they deliver within your required timeframe?
-
Verify certifications: Confirm CE compliance, especially for electrical systems and automated functions
-
Request references: Ask for contact information of 3 factories using the same model in your region
9. What Are the Red Flags When Evaluating a Sewing Machine Brand‘s Supply Chain?
Some warning signs indicate a brand‘s supply chain may not support your production needs. This section highlights the most common red flags.
-
Vague delivery timelines: Suppliers who cannot give a specific delivery date for parts
-
No local service presence: No authorized service centers within your region
-
Poor documentation: No English manuals, no circuit diagrams, no parts lists
-
Inconsistent communication: Response times exceeding 24 hours for basic inquiries
-
No spare parts inventory: Suppliers who don‘t stock common parts like needles, bobbins, and belts
-
No warranty clarity: Unclear terms on parts coverage, labor, and shipping costs
10. How Can DOIT Group Help Factories Build a Reliable Sewing Machine Supply Chain?
DOIT Group, based in Taizhou, Zhejiang — the heart of China‘s sewing machinery ecosystem — offers factories a supply chain advantage that larger, more distant brands cannot match.
-
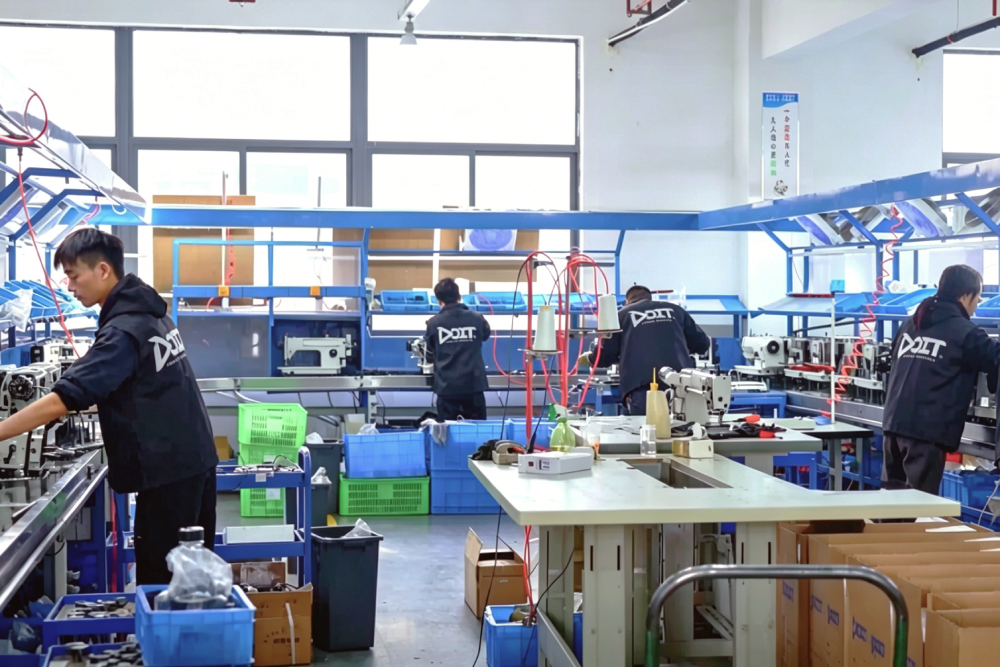
Vertical integration: Component manufacturing, precision machining, and final assembly all within close geographic proximity
-
Standard parts compatibility: DOIT machines use widely available 135×17 needles and standard bobbins, ensuring parts are never hard to find
-
Export‑ready infrastructure: Direct access to Ningbo and Shanghai ports ensures efficient containerized shipping
-
Responsive support: One‑year warranty on machine parts and two‑year warranty on the motor, with video/online support for remote diagnostics
-
Proven reliability: Over 95% of products exported to more than 20 countries, with a customer satisfaction rate of 96.3%
Automatic Needle Threader Troubleshooting – 10 Common Factory Problems & Quick Fixes
1. Why Does the Automatic Needle Threader Fail to Catch the Thread?
The most common threader failure occurs when the wire hook passes through the needle eye but fails to pull the thread through.
-
Root cause #1: The needle is not raised to its highest position
-
Root cause #2: The needle is not inserted correctly (flat side must face the back)
-
Root cause #3: The thread is not positioned under the hook
-
Quick fix: Raise the needle fully, re‑insert the needle correctly, and ensure the thread sits in the guide channel
-
Downtime impact: This accounts for approximately 40% of all threader failures; resolution takes 1–3 minutes
2. What Causes a Bent or Broken Threader Hook and How Do You Fix It?
The tiny wire hook is the most delicate part of the automatic threader.
-
Root cause: The threader was activated while the needle was not fully raised
-
Root cause: A bent or incorrectly installed needle caused the hook to strike metal
-
Root cause: The operator forced the threader lever when it was stuck
-
Quick fix: If slightly misaligned, gently push the hook back with a small screwdriver — do not use force
-
If broken: The entire threader mechanism must be replaced; keep spare assemblies in stock to reduce downtime from 2–5 days to under 2 hours
3. Why Does the Threader Lever Not Move or Return to Its Original Position?
A stuck threader lever prevents the entire threading operation.
-
Root cause: Thread or lint is tangled in the threader mechanism
-
Root cause: The mechanism is dirty and requires cleaning
-
Root cause: A spring or circlip has dislodged inside the mechanism
-
Quick fix: Turn off the machine, remove tangled thread, clean the mechanism with a small brush or compressed air
-
Downtime impact: Cleaning takes 5–10 minutes; disassembly requires 30–60 minutes for a trained technician
4. What Does the “Needle Threader Error” Message Mean and How Do You Clear It?
Computerized machines display specific error messages when the threader fails.
-
Common message: “Needle threader is in threading position” — the machine cannot start sewing until the threader is cleared
-
Common message: “Picker error” — indicates the threader mechanism did not complete its cycle
-
Quick fix: Remove entangled thread, press the [OK] or clear button
-
If persistent: Turn the machine off, wait 10 seconds, and restart
-
Downtime impact: Clearing an error takes 2–5 minutes; persistent errors require 1–2 hours of diagnostic time
5. Why Does the Threader Only Work Intermittently?
Intermittent failures are among the most frustrating problems because they are hard to diagnose.
-
Root cause: The needle is slightly bent or dull but not visibly damaged
-
Root cause: The needle is not consistently raised to the correct position
-
Root cause: The threader mechanism is dirty but not fully jammed
-
Quick fix: Replace the needle, always raise it fully before activating the threader, and clean the mechanism thoroughly
-
Downtime impact: A 30‑second delay per garment × 100 garments = 50 minutes of lost production daily
6. Why Does the Threader Work But the Needle Remains Unthreaded?
The mechanism operates, but the thread does not pass through the needle eye.
-
Root cause: The threader lever was not lowered fully; the hook did not complete its rotation
-
Root cause: The thread was not caught by the hook due to incorrect positioning
-
Root cause: The thread is too thick for the hook to grip
-
Root cause: The needle eye is too small for the thread and hook combination
-
Quick fix: Lower the lever fully, check thread positioning, use thread appropriate for the needle size (75/11–100/16)
7. Why Does the Threader Make Unusual Noises or Vibrate Excessively?
Grinding, clicking, or rattling sounds indicate mechanical stress.
-
Root cause: Debris or lint is caught in the mechanism
-
Root cause: The threader hook is misaligned and rubbing against metal
-
Root cause: A spring or circlip has come loose
-
Quick fix: Turn off the machine, remove debris, check hook alignment
-
Warning: Ignoring unusual noises leads to catastrophic failure; address immediately
8. Why Does the Threader Get Jammed After Thread Changes?
Frequent thread type or color changes can cause recurring jams.
-
Root cause: Different threads have different thicknesses and friction characteristics
-
Root cause: The new thread is not compatible with the current needle size
-
Root cause: Thread residue from the previous spool is caught in the mechanism
-
Quick fix: Clean the mechanism before the first use with new thread; match thread thickness to needle size
-
Prevention: Allow 2–3 minutes of threader cleaning and verification per thread change
9. Why Is the Automatic Threader Not Compatible with Certain Needles or Threads?
The threader has specific limitations that operators must understand.
-
Needle size range: The threader works with sizes 75/11 through 100/16 — not with 65/9 or smaller
-
Specialty needles: Twin needles, wing needles, or triple needles are not compatible
-
Specialty threads: Transparent nylon monofilament thread requires needles in the 90/14–100/16 range
-
Decorative threads: Metallic or thick decorative threads require manual threading
-
Quick fix: For any incompatible combination, thread manually — forcing the threader will damage it
10. What Is the Preventive Maintenance Checklist for Automatic Needle Threaders?
Prevention is always cheaper than repair. This section provides a factory‑ready maintenance schedule.
-
Daily (every shift): Raise the needle fully before activating; wipe the threader area; verify needle installation
-
Weekly: Clean the mechanism with a small brush or compressed air; inspect the hook for wear; check lever movement
-
Monthly: Thorough cleaning of the entire assembly; check for loose screws; lubricate moving parts
-
Spare parts to stock: Threader hook assembly (2–3 per machine type), needles in various sizes (100+ per machine), cleaning brushes and compressed air (per workstation)
-
Downtime impact: Daily cleaning prevents 60% of threader jams; proper maintenance reduces threader‑related downtime by up to 70%
📩 Email: sales6@chinadoit.cn
🌐 Website: denimsewing.com