


T-Shirt Manufacturing Process: Step-by-Step Guide to Industrial Sewing Equipment
T-Shirt Manufacturing Process: A Step-by-Step Guide to Industrial Sewing Equipment
Producing T-shirts at scale is not simply "the same as shirts, but easier." Knit fabric behaves completely differently from woven fabric under a needle, and a line specified the way you would specify a denim or poplin line will produce garments that fail in wear — seams that pop when the wearer pulls the shirt over their head, necklines that lose shape after three washes.
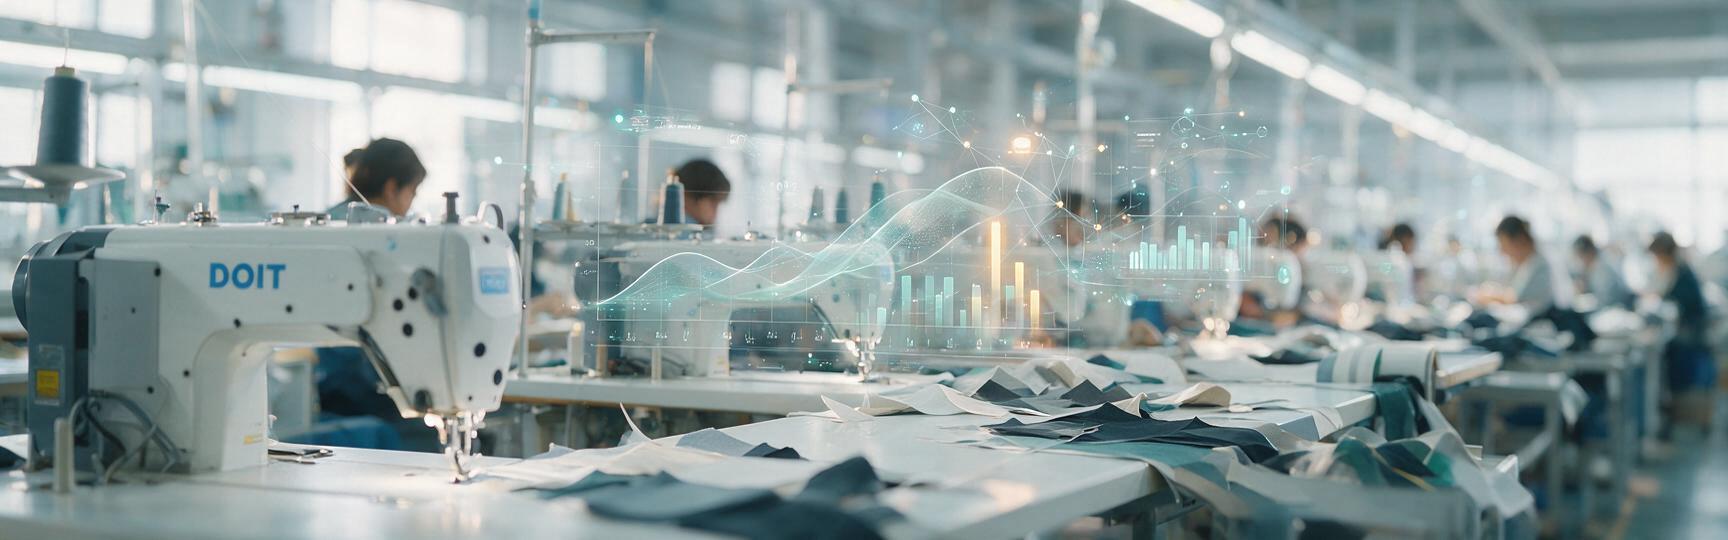
Whether you run a denim factory expanding into knitwear or a dedicated apparel manufacturer, this guide walks through the nine sewing operations that assemble a T-shirt, in the order a production line actually runs them — and the equipment each one needs.
Before You Specify Machines: Knits Are Not Wovens
This is the single most important decision in the entire line, and it determines everything downstream.
|
Property |
Woven (denim, poplin) |
Knit (jersey, interlock, rib) |
|
Stretch |
Minimal |
Can elongate 50%+ |
|
Correct structural stitch |
301 lockstitch, 401 chainstitch |
500-class overlock, 600-class coverstitch |
|
Wrong stitch consequence |
Seam slippage |
Seam "pops" — thread breaks under stretch |
|
Needle point |
Sharp point (e.g. 135×17 / DP×17) |
Ball point, to push yarns aside rather than cut them |
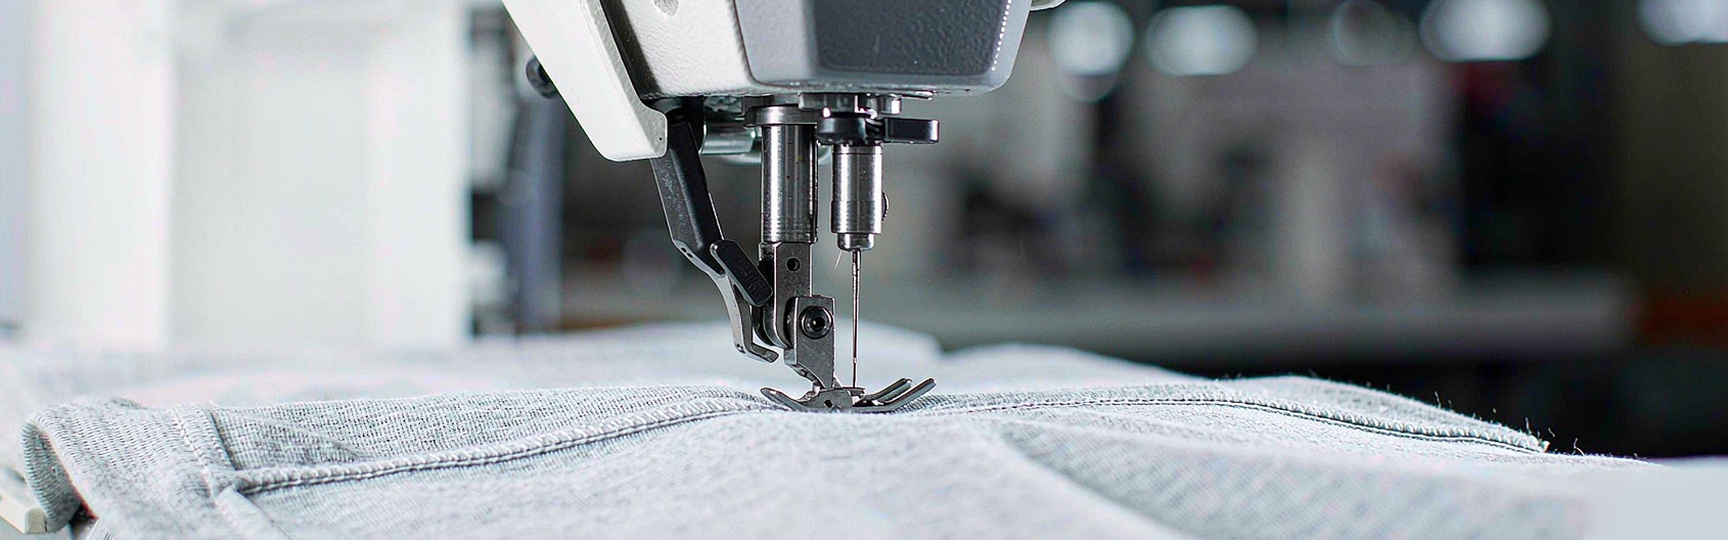
Why lockstitch fails on knits. A 301 lockstitch has almost no give — roughly 5% elongation before failure, compared with about 30% for a 4-thread overlock. On a woven fabric with no stretch, that rigidity is a virtue. On jersey, it is a structural mismatch: the fabric stretches, the stitch does not, and the thread breaks.
This doesn’t make a lockstitch machine useless on a T-shirt line. It makes it the wrong tool for structural seams — and the right tool for shoulder topstitching, label attaching, woven trims, and reinforcement where the fabric is stabilized. Knowing which is which is what separates a line that runs from a line that reworks.
Step 1: Shoulder Seams
The shoulder seam is the first assembly operation and one of the most heavily loaded — it carries the weight of the garment and takes repeated stress during dressing.
Equipment: 4-thread overlock (DT 900-4AT) for the seam itself; a flatlock/coverstitch machine from the DT 600 series for the shoulder topstitch that lays the allowance flat.
Why it comes first: closing the shoulder turns two flat panels into a garment body you can work around. Every subsequent alignment — neck, sleeves, side seams — references it.
Step 2: Neck Rib and Collar Attaching
The neckline is the first thing a buyer looks at and the first thing that fails on a cheap garment. Rib must be joined to size, then attached with controlled, even tension: too loose and the neckline gapes, too tight and it puckers.
Equipment: DT EXT 5114SL automatic round-collar overlock machine.
What automation buys you here: attaching a collar band evenly by hand is one of the highest-skill operations on the line, and one of the hardest to keep consistent across operators and shifts. Automating it removes the variance rather than the operator.
Step 3: Back Neck Tape Binding
The tape covering the neck seam on the inside is what makes a T-shirt comfortable at the neck — and what stops the seam from stretching out.
Equipment: DT 3802D direct-drive double-needle chainstitch machine.
Chainstitch is used here rather than lockstitch precisely because it has elasticity. The two parallel rows bind the tape flat and give a clean interior finish that meets retail standards.
Step 4: Sleeve Attachment
Sleeves are joined to the body at the armscye. Because the seam curves and the fabric is stretchy, this operation is where wavy, distorted seams typically originate when operators are untrained.
Equipment: DT 900-4AT 4-thread overlock.
The electronic auto-trimmer and stepper motor matter here in a specific way: consistent thread trimming at the start and end of each seam, and exact needle stop position, which together keep the armscye clean without a separate trimming operation.
Step 5: Side Seams and Care Label Insertion
The side seam closes the body in one continuous run — and it is the operation where the care label gets sewn in, not a separate step.
Equipment: DT 900-4AT running a 4-thread configuration (the machine is convertible across 3/4/5-thread setups).
Operator note: side seams on knits are where poor fabric handling shows up most visibly. Operators who pull fabric through the machine create tension and wavy seams. Feeding with neutral hands is a trainable skill and worth training.
Step 6: Sleeve Hems and Cuffs
Sleeve openings need a hem that stretches with the arm and recovers.
Equipment: either the DT 600-35BB/EUT/DD cylinder-bed interlock machine (3-needle, 5-thread) for a coverstitch finish, or the DT 500-01CB/AT automatic cuff hemming unit where volume justifies automation.
The cylinder bed matters for cuffs: it lets the small-diameter sleeve opening lie flat against the feed rather than being dragged around a flat bed. Automated folding gives uniform hem width across every unit in the run.
Step 7: Bottom Hem
The bottom hem must be straight, stretchable, and consistent — and it is the most visible seam on the garment after the neckline.
Equipment: DT 600-35BB/AT automatic bottom hemming, or the DT 600AT-FT automatic platform bottom hemming unit.
Why automate this one: bottom hemming is high-volume and highly repetitive. Automation removes dependence on skilled manual folding, which is usually the constraint on both throughput and consistency at this station.
Step 8: Main Label and Trims
Main labels are attached at the neck area (care labels were already inserted at Step 5, in the side seam).
Equipment: DT 2210G-01ACH computerized pattern sewing machine — sliding presser foot, 220 × 100 mm working area.
A programmable pattern machine fixes label position stitch-for-stitch, which eliminates the placement drift that causes brand-compliance rejections on retail orders.
Step 9: Optional Operations — Pockets, Plackets, Buttons
Chest pockets (pocket T-shirts): DT 3020TD computerized automatic pocket attaching machine — folds, positions, and sews in one cycle.
Polo and custom styles:
|
Operation |
Equipment |
|
Side vents / side hems |
DT MA530-JC intelligent template sewing machine |
|
Buttonholes |
DT 1790PL automatic buttonholing machine |
|
Button attaching |
DT 1903ASS-977MD-PL automatic button attaching machine with feeder |
Template-based sewing (DT MA530-JC) is what keeps side vents symmetrical — the template defines the geometry, so the operator is not freehanding it.
Where the Lockstitch Machine Fits
Given everything above, here is the honest placement of a computerized lockstitch like the DT C10-D4 (5,000 spm, 550 W, stepper motor) on a knit line:
Right for: shoulder topstitching on stabilized fabric, label attaching, woven components, bar-tack reinforcement at stress points, and the stable non-stretch areas of a garment.
Wrong for: side seams, sleeve attachment, and any seam that must stretch with the fabric. Use the overlock for those.
Stating this clearly costs you nothing and buys significant credibility with production managers who already know it.
After Sewing: Finishing and Inspection
A guide that stops at the last seam is incomplete. These operations determine whether the order ships:
- Thread trimming — loose threads are the most common final-inspection rejection
- In-line QC — inspectors stationed on the line catch an error before hundreds of units inherit it
- Pressing and folding — a technically correct garment still fails if it presents badly
- Final QC against spec — measurement, seam appearance, shade consistency, label accuracy, folding quality
Equipment Summary
|
Step |
Operation |
Equipment |
|
1 |
Shoulder seams + topstitch |
DT 900-4AT + DT 600 series |
|
2 |
Collar / neck rib attaching |
DT EXT 5114SL |
|
3 |
Back neck tape binding |
DT 3802D |
|
4 |
Sleeve attachment |
DT 900-4AT |
|
5 |
Side seams + care label |
DT 900-4AT |
|
6 |
Sleeve hems / cuffs |
DT 600-35BB/EUT/DD or DT 500-01CB/AT |
|
7 |
Bottom hem |
DT 600-35BB/AT or DT 600AT-FT |
|
8 |
Main label |
DT 2210G-01ACH |
|
9 |
Pockets / plackets / buttons |
DT 3020TD, DT MA530-JC, DT 1790PL, DT 1903ASS-977MD-PL |
|
— |
Topstitch and reinforcement |
DT C10-D4 |
The Bottom Line
A competitive T-shirt line needs overlock for structural seams, coverstitch and interlock for hems, chainstitch for tape binding, and a lockstitch for topstitching and labels — specified in that order of priority, not chosen by habit.
DOIT Group manufactures across all of these categories. For factories whose core is denim, the knit line is a genuine expansion rather than a stretch: the machines are different, but the engineering standards — metal construction, direct-drive servo motors, serviceable parts, 1-year warranty on machine parts and 2-year on the motor — carry over directly.
Ready to specify a T-shirt line, or add knit capability alongside your denim production? Explore DOIT Group’s full range of industrial sewing machines at denimsewing.com.
📩 Email: sales6@chinadoit.cn
🌐 Website: denimsewing.com